
Last updated October 17, 2026
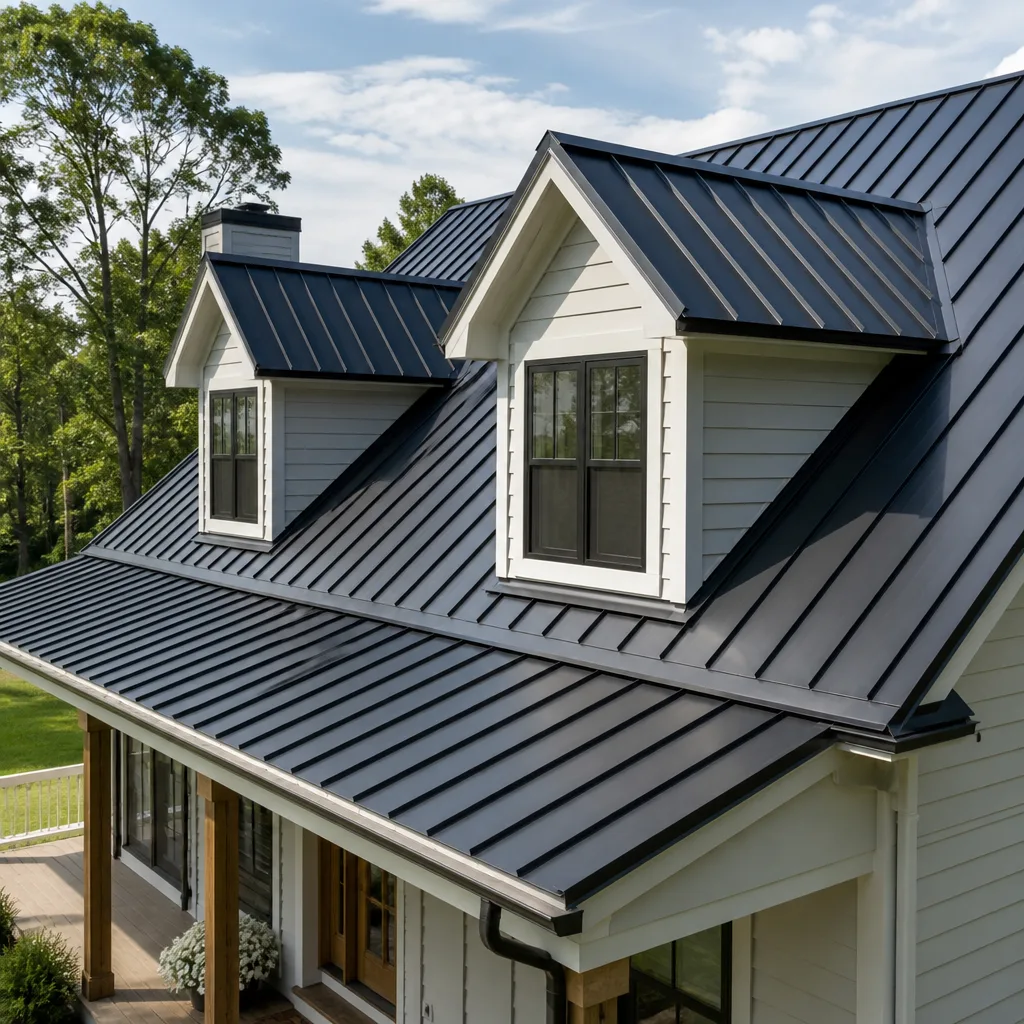 Metal roofing
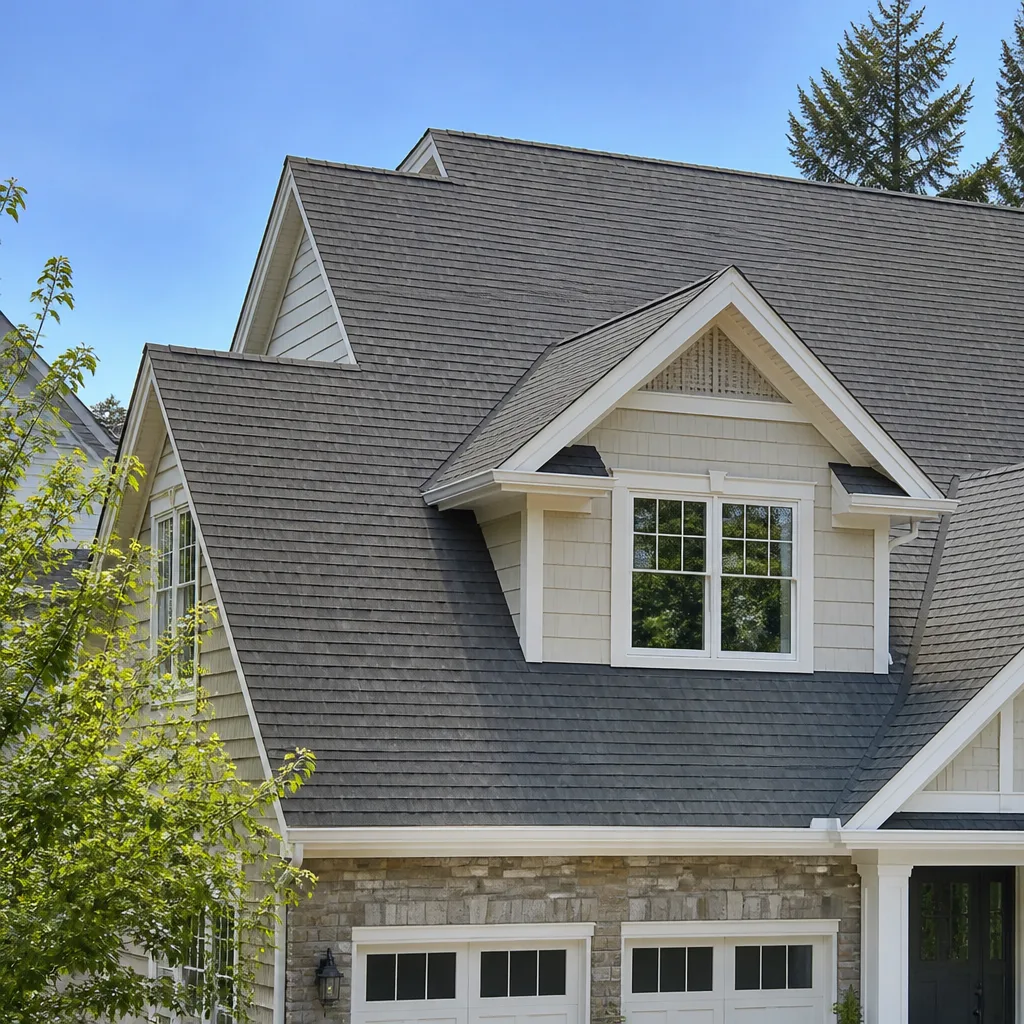 Architectural shingles
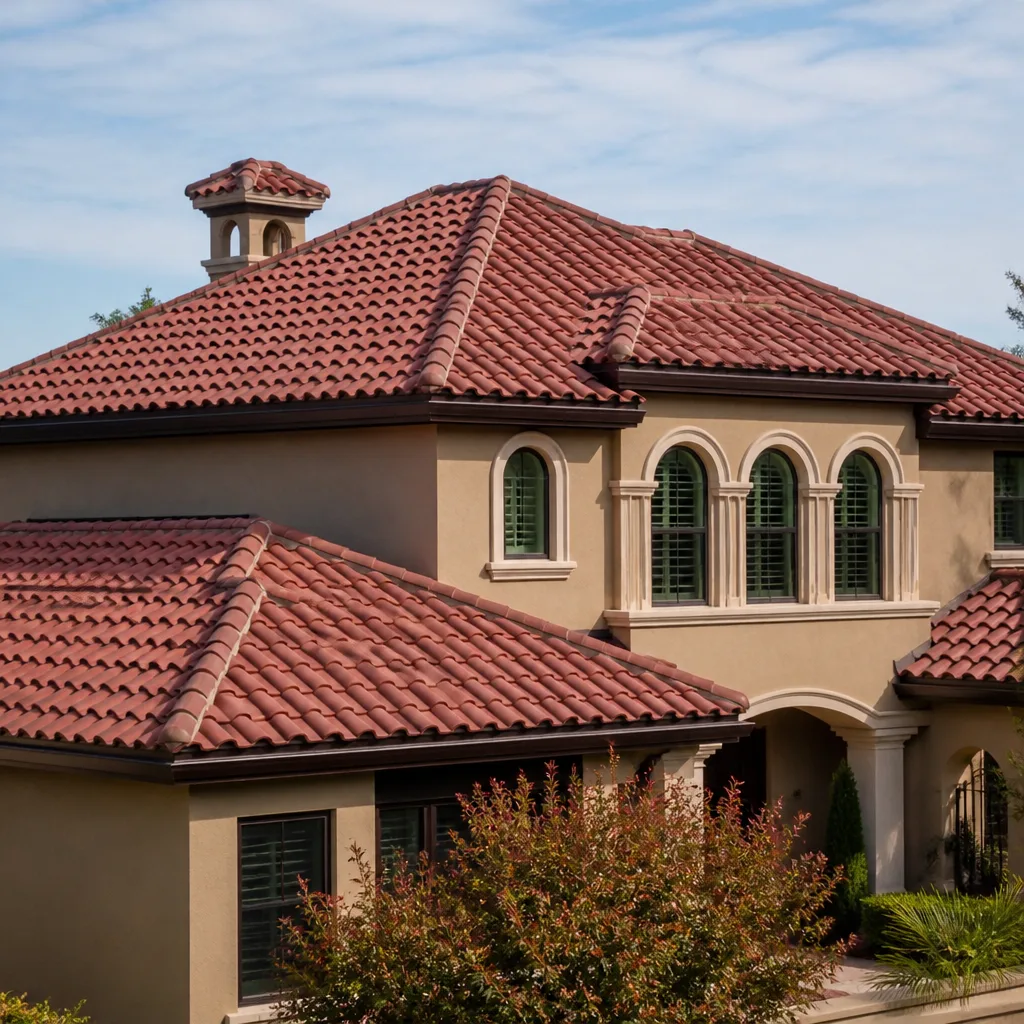 Tile roofing
 GAF
GAF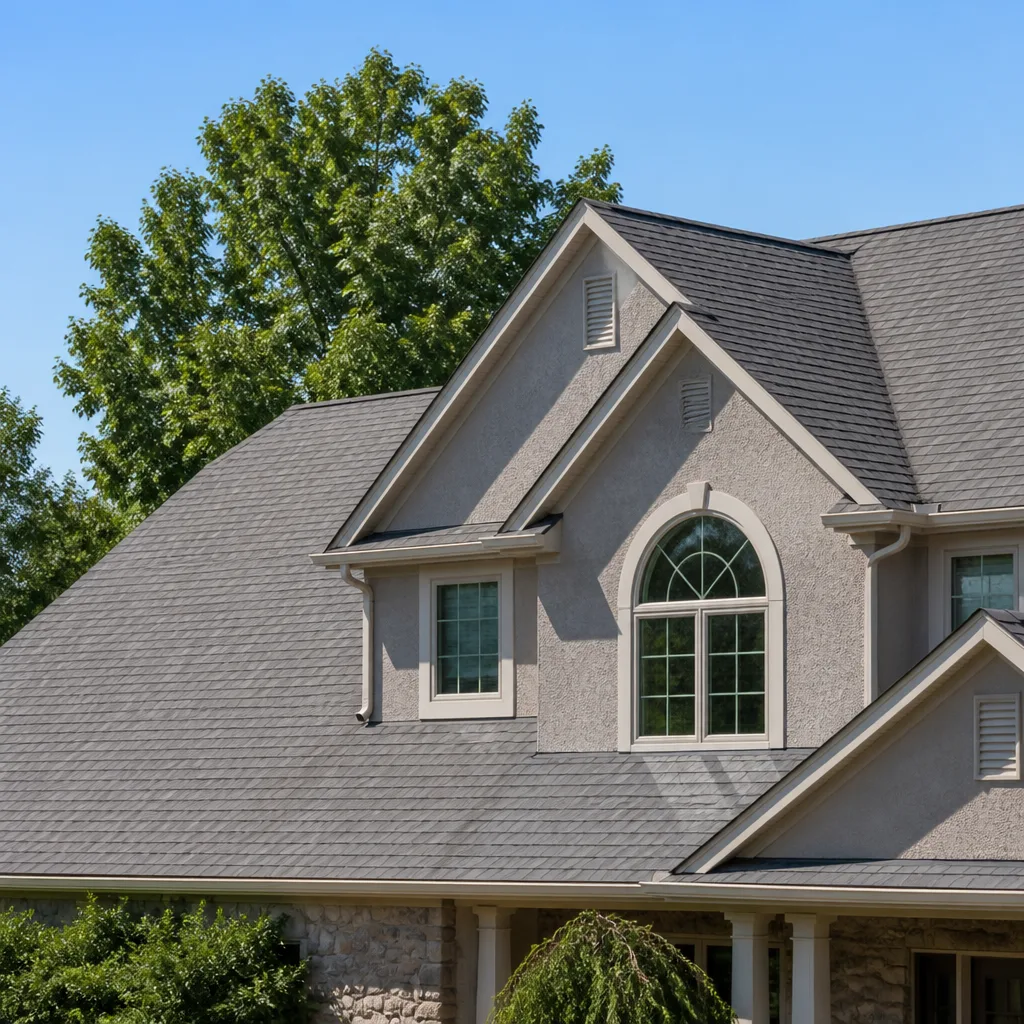 Owens Corning
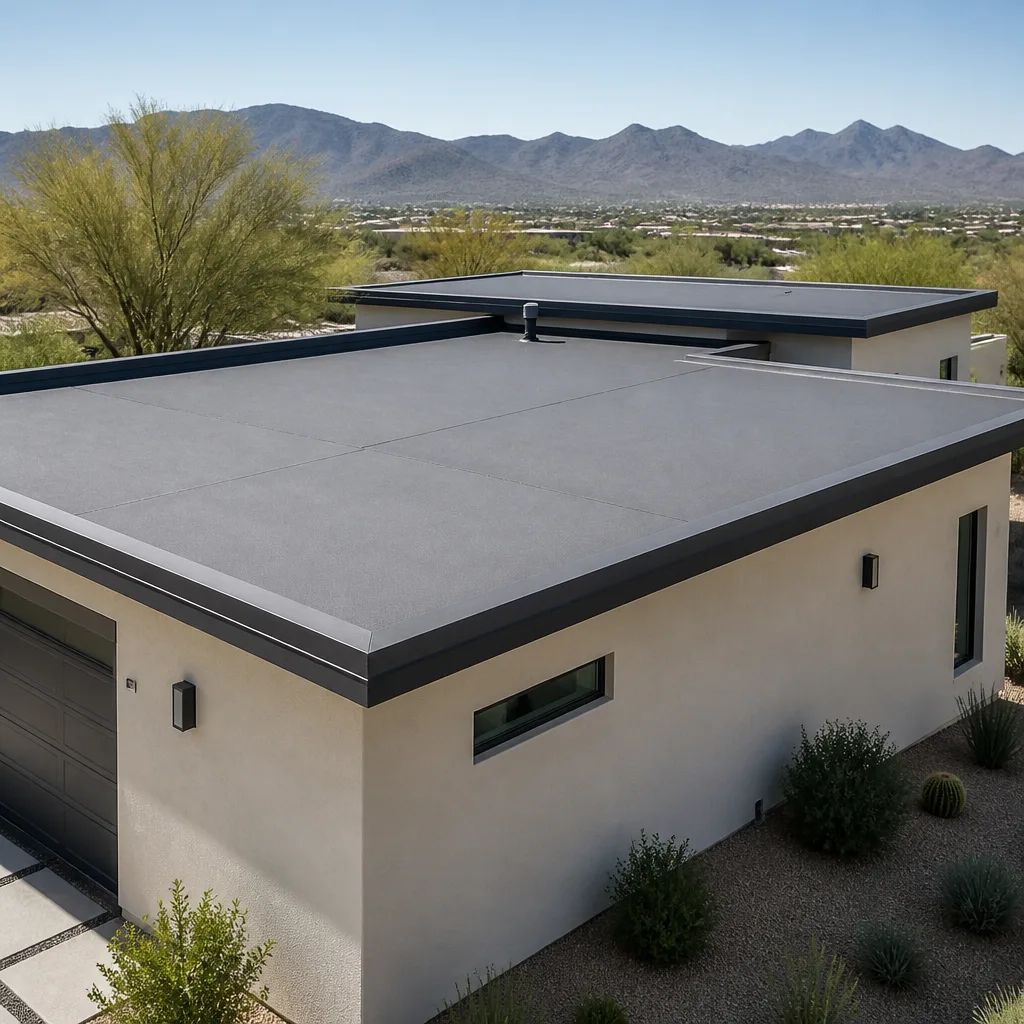 Flat & low-slope
Free roof inspection with deck photos before we talk money - GAF and Owens Corning certified installation
Roofing Company Maintenance Checklist for Jacksonville Homeowners
Most roof maintenance checklists tell you to “inspect after winter storms,” advice that wastes your attention in Jacksonville, where the real damage window is a six-month hurricane season followed immediately by a dry-rot risk period. The calendar doesn’t drive roof wear here; humidity, wind-driven rain, and attic heat do. This guide replaces the generic seasonal checklist with a month-by-month action sequence timed to what Jacksonville’s weather actually delivers, from the first 50 mph gust to the first cold snap that sends animals into your soffits. Explore our more guides & resources for additional homeowner tips. You’ll learn which tasks protect your warranty, which ones an insurance adjuster wants documented, and which ones you should never do yourself.
Quick Answer
A Jacksonville roof maintenance checklist should follow the city’s weather triggers, not calendar seasons: inspect after the first storm above 50 mph, check for dry rot after the first 10-day dry stretch following wet season, and clear soffit vents after any temperature drop below 40°F. Most homeowners can safely handle visual ground-level inspections, gutter clearing, and photo documentation, while warranty-critical work like fastener tightening, flashing repair, and decking inspection belongs with a licensed contractor. A written maintenance log with dated photos is the single strongest document you can hand an insurance adjuster after a storm claim.
Styles & brands we work with
Table of Contents
- Why Jacksonville Weather Beats Calendar Seasons
- Your Month-by-Month Jacksonville Maintenance Sequence
- Checking Soffit Vents for Wasp and Mud-Dauber Blockage
- What to Photograph From the Ground (No Ladder Required)
- Warranty-Voiding DIY Tasks vs. Safe Homeowner Tasks
- Documenting Maintenance for Insurance Claims
- How Jacksonville Humidity Affects Different Roofing Materials
- Signs Your Roof Needs a Professional Now
Why Jacksonville Weather Beats Calendar Seasons
A roof in Jacksonville ages differently than a roof in Atlanta or Charlotte. The Atlantic hurricane season runs from June 1 through November 30, and Jacksonville sits squarely in the path of both Gulf-born and Atlantic-born storms. Sustained winds above 50 mph start lifting shingle edges, and wind-driven rain works its way under flashings that looked fine the month before. After the storm passes, the real damage often hasn’t shown itself yet.
What follows wet season is worse for roofs than the storms themselves: a long dry stretch where moisture trapped in the decking sits and feeds rot. The air stays humid even when the rain stops, and Jacksonville’s average relative humidity hovers around 75% year-round. That means a small leak doesn’t dry out. It festers.
Three Jacksonville-specific triggers matter more than any calendar date:
- First storm above 50 mph. Whether it’s a named hurricane or a spring squall, wind at that speed begins loosening nails, cracking sealant, and bending flashing. Inspect within 48 hours, even if nothing looks wrong from the ground.
- First 10-day dry stretch after wet season. This is when trapped moisture in the attic starts causing visible problems: staining on ceilings, musty smells, or bubbling paint near vents. Water that entered in August may not announce itself until October.
- Any temperature drop below 40°F. Jacksonville cold snaps are brief but sharp, and they drive rats, squirrels, and birds into soffits and ridge vents. Rodent entry causes more attic damage in Jacksonville winters than ice ever will.
If you only remember three dates all year, make them these triggers. Everything else on a generic checklist is secondary. We’ve seen homeowners in Mandarin and Avondale catch small flashing failures early because they checked after a February squall line, and we’ve seen homeowners in Arlington miss decking rot for two seasons because they waited for “spring inspection season” that never accounted for October humidity. This is the roofing company in Jacksonville reality: the weather, not the calendar, is your maintenance schedule.
Your Month-by-Month Jacksonville Maintenance Sequence
Here’s how a calendar year turns into an action sequence when you map it to Jacksonville’s climate. Each month has one primary task, timed to what’s actually happening outside.
January: Cold Snap Soffit Check
Jacksonville typically sees its coldest nights in January, with temperatures occasionally dipping below 40°F. That temperature drop sends rodents looking for warmth, and your soffit vents are the front door. Walk the perimeter of the house and look for droppings, nesting material, or chew marks near vent openings. Listen for scratching in the attic during early morning hours. If you hear it, don’t wait; a single rat can tear through fiberglass insulation and chew wiring in a week.
February: Flashing Inspection After Winter Wind
February brings some of Jacksonville’s steadiest winds outside hurricane season. Check chimney flashing, pipe boot flashing, and valley metal from the ground with binoculars or a smartphone zoom lens. Look for lifted edges, missing sealant, or rust streaks running down from metal penetrations. Wind-driven rain finds these gaps first.
March: Gutter and Downspout Clearing Before Spring Rains
Live oak leaves drop all winter in Jacksonville and accumulate in gutters by March. Clogged gutters back water up under the eave edge and onto fascia boards. Clear them now, before April’s afternoon thunderstorms start. Check downspout outlets for blockage and make sure water discharges at least three feet from the foundation.
April: Attic Ventilation Check
Before summer heat arrives, confirm your attic is breathing. Ridge vents, gable vents, and soffit vents all need to work together. A simple test: on a sunny afternoon, place your hand near the attic access. If you feel heat radiating from the opening, your ventilation isn’t moving enough air. Attic temperatures above 130°F bake shingles from below and shorten their life significantly. Jacksonville summers push attics past that threshold routinely.
May: Pre-Hurricane Season Roof Walk (Contractor)
This is the month to call a licensed contractor for a roof repair in Jacksonville assessment if you have any suspicion of weakness: cracked pipe boots, lifted shingles, or sealant pulling away from flashings. May is before the first named storms typically arrive, and contractors can still schedule non-emergency work. Waiting until a storm is forecast means competing with emergency calls.
June: Document Pre-Season Condition
Before the first hurricane watch, take a full photo set of your roof from the ground: all four sides, close-ups of flashings, ridge cap, and any area that has been patched before. Store these photos in a cloud folder with dates. If a storm damages your roof, these images prove what the roof looked like before the wind hit. Insurance adjusters weigh this evidence heavily.
July – September: Post-Storm Checks Within 48 Hours
After any storm with winds above 50 mph, walk the perimeter and photograph everything again. Compare against your June photos. Look for shingles in the yard, granules collecting at downspout outlets, or new exposed nail heads. Call your roofer about anything that changed. Small repairs now prevent bigger problems when the next storm arrives.
October: Dry Stretch Decking Check
By October, the rain has usually stopped for a stretch. This is when trapped moisture becomes visible. Check ceilings near chimneys, under roof valleys, and around skylights for water stains or bubbling paint. Go into the attic with a flashlight and look for dark spots on decking, especially near plumbing penetrations. Dark spots mean active or recent moisture; don’t ignore them.
November: End-of-Hurricane-Season Full Assessment
Hurricane season officially ends November 30. Schedule your contractor’s full assessment now if you haven’t had one all year. This catches cumulative damage from the season’s storms and gives you a clean baseline before winter. It also positions you to handle small repairs during the mildest weather of the year.
December: Prep for Cold Snap #2
Jacksonville’s second cold snap usually arrives in late December or early January. Repeat the soffit check, inspect the attic for any new animal activity, and confirm gutters are still clear after late-fall leaf drop. A well-maintained December roof carries you into the new year with fewer surprises.
Checking Soffit Vents for Wasp and Mud-Dauber Blockage
Every Jacksonville neighborhood from Riverside to Mandarin has the same springtime visitor: wasps and mud daubers looking for small openings to build nests. Soffit vents are perfect targets. The problem isn’t just the nest itself; it’s what the nest does to your attic ventilation. A blocked soffit vent starves the attic of intake air, which means the ridge vent can’t exhaust hot air efficiently. Attic temperatures climb, moisture gets trapped, and roof decking begins to rot from the inside out. We’ve opened soffits in Jacksonville homes and found vent cavities completely packed with mud dauber tubes, reducing airflow to near zero.
What to check, from the ground, using binoculars or a smartphone zoom:
- Look at every visible soffit vent opening. Most Jacksonville homes have perforated aluminum or vinyl soffit panels or individual round vents. From the ground, you’re checking for dark spots, mud streaks, or paper-like structures visible through the openings.
- Look for wasps entering and exiting. Stand quietly for five minutes on a warm afternoon. Wasps fly in and out of active nests; mud daubers are solitary but return to the same vent repeatedly with mud.
- Check for discoloration on the soffit surface. Mud dauber activity leaves mud smears around vent edges. Even after the nest is abandoned, the blockage remains.
- Look for staining on exterior walls below soffits. Trapped attic moisture from blocked vents can migrate to wall surfaces, causing faint water streaks or bubbling paint.
If you find blockage, don’t clear it yourself from a ladder. Mud daubers are not aggressive, but wasps can be, and a ladder adds falling risk. A trained contractor can remove the nest, clear the vent, and confirm that airflow is restored by checking attic temperature before and after. This one task, done at the right time, can add years to a roof’s life in Jacksonville’s humidity.
What to Photograph From the Ground (No Ladder Required)
You don’t need to climb anything to give a roofer a useful starting point. A smartphone with a 3x or 5x zoom, or a pair of binoculars held in front of the camera lens, can capture more than enough detail from the ground. The key is knowing what to shoot and shooting it consistently, the same angles every time, so changes are visible.
Here’s a proven photo sequence for any Jacksonville homeowner:
- All four roof slopes, standing directly across from each. Hold the phone level and frame the entire slope from eave to ridge. These give the roofer an overview of shingle condition, moss or algae presence, and obvious missing shingles.
- Every roof penetration. Chimneys, pipe boots, attic fans, and skylights. Zoom in close enough to show the flashing edges. These are the most common leak sources in Jacksonville storms.
- Ridge cap and hip cap lines. Shoot along the ridge from both ends. Ridge cap shingles take the most wind abuse and are the first to lift in a storm.
- Valley lines. Where two roof slopes meet, debris collects and water flows fastest. Shoot from below looking up.
- Gutter and downspout outlets. Photograph what’s collecting at the outlet. Granules from shingles are a key wear indicator; you’ll see them as dark, sand-like material accumulating at the bottom of downspouts.
- Soffit and fascia lines. Walk the perimeter and shoot straight along the eave edge. This catches rot, animal entry points, and vent blockage.
When you’ve taken these photos, label them by date and store them in a folder you’ll actually find later. This photo set serves three purposes: it’s a starting point for any roofer you call, it’s your personal maintenance record, and if a storm damages your roof, it’s your proof of pre-storm condition. Homeowners who keep this photographic record have a materially easier time with insurance claims than those who don’t.
Warranty-Voiding DIY Tasks vs. Safe Homeowner Tasks
Your roof is covered by two warranties: the manufacturer’s warranty on materials and the contractor’s workmanship warranty. Both have fine print, and that fine print typically requires that maintenance and repairs be performed by a licensed contractor. Walk on a roof and perform a “repair” yourself, and you may have voided both warranties without knowing it.
Here’s the line, based on what we see in warranty claims from manufacturers like GAF and Owens Corning:
- Never DIY these (warranty-voiding): Replacing shingles, applying sealant to flashings, tightening fasteners, removing or reinstalling flashing, repairing decking, or any task requiring you to walk on the roof surface. Manufacturers explicitly exclude damage caused by unauthorized modifications or repairs. If you’ve “helped out” with a tube of roof cement, the warranty is compromised.
- Safe to DIY (warranty-safe): Gutter clearing, downspout flushing, ground-level visual inspection, photographing roof surfaces, clearing debris from the yard that could clog drains, and documenting what you observe. None of these require touching the roof itself.
- Borderline (depends on manufacturer): Using a leaf blower from a ladder to clear debris off the roof. Some manufacturers consider this maintenance; others consider it unapproved foot-free contact. Check your warranty documentation or ask the contractor who installed the roof.
CertainTeed, for example, requires inspections and repairs by a qualified roofing professional to maintain warranty coverage. If a storm tears shingles off and you replace them yourself, the manufacturer can deny a later warranty claim for defects on the same roof. The best use of a homeowner’s time is not repairs; it’s documentation and referral. Keep the photos, note what changed, and call a licensed roofer for anything that requires touching the roof. For roof replacement in Jacksonville projects, proper installation by a certified contractor is a condition of coverage, not a suggestion.
Documenting Maintenance for Insurance Claims
Insurance adjusters operate in a world of evidence. After a storm, they receive thousands of claims, and the ones that get approved quickly and fairly are the ones with clear documentation. A homeowner who can show dated photos of roof condition before the storm, maintenance records from before the storm, and dated photos after the storm is not asking for a favor; they’re presenting a case.
What to document, in writing:
- Every contractor visit, with date and scope. “November 15, 2025: Full roof assessment by licensed contractor. Replaced two pipe boot flashings. Inspected decking from attic, no moisture found.” That sentence, dated and saved, is as valuable as a photograph.
- Every DIY maintenance task. “September 3, 2025: Cleared gutters and downspouts. Removed 3 gallons of leaf debris.” If a later claim involves water damage from backed-up gutters, this record helps establish that maintenance was not neglected.
- Every photo set, dated and labeled. Use a consistent file naming convention: “2025-06-01-roof-facing-north.jpg” for example. Save to a cloud folder, not just a phone that could be lost or damaged.
- Every unusual weather event. If a storm with 60 mph winds passes through, note the date and what you observed afterward. This creates a timeline that adjusters find compelling.
If a future storm claim is questioned, your maintenance log answers the adjuster’s unspoken question: was this damage preventable? A homeowner who maintained a record shows the damage wasn’t neglect. A homeowner with no records is in a weaker position, even if the damage is identical. This is one of the most underused claims-help tools in Florida.
How Jacksonville Humidity Affects Different Roofing Materials
Not all roofing materials age the same way in Jacksonville’s climate. Humidity, salt air, and intense sun combine to create conditions that punish some materials faster than others. Understanding how your specific roof material responds helps you know what to inspect and when.
Asphalt Shingles
Asphalt shingles from GAF, CertainTeed, and Owens Corning dominate Jacksonville roofs for good reason: they perform well in high humidity and wind when installed properly. But Jacksonville’s heat accelerates granule loss, especially on south-facing slopes. High humidity also promotes algae growth, the black streaks you see on many local roofs. Algae doesn’t destroy shingles quickly, but it looks bad and retains moisture against the shingle surface. Look for granule build-up in gutters; that’s your early-warning sign of accelerated aging.
Tile Roofing
Tile from Boral is common in older Jacksonville neighborhoods and newer upscale communities. Tile handles humidity well but is vulnerable to impact from flying debris in hurricanes. A cracked tile is not just cosmetic: water enters the underlayment, and in Florida’s climate, the underlayment may be the only waterproof layer that matters. Inspect after every storm with wind above 50 mph for cracked or shifted tiles.
Metal Roofing
Metal roofs handle Jacksonville’s heat better than any other material, reflecting sun rather than absorbing it. But humidity and salt air attack fasteners and flashing edges. Check for rust streaks running from screw heads and for sealant pulling away from ridge and eave metal. Metal roofs rarely fail from the panels themselves; they fail at the edges and penetrations.
Flat and Low-Slope Roofing
Jacksonville’s afternoon thunderstorms dump water fast, and flat roofs must handle standing water until it drains. Check drains and scuppers every month during rainy season. Standing water that remains more than 48 hours after rain is a sign of drainage failure, and it accelerates membrane breakdown in direct proportion to how long it sits.
Signs Your Roof Needs a Professional Now
Some roof problems don’t wait for the next maintenance cycle. These are the red flags that should trigger a phone call within days, not months. We see these daily in Jacksonville homes, and the ones that get addressed quickly cost a fraction of the ones that wait.
- Water stains on ceilings, even faint ones. By the time water reaches the ceiling, it has already crossed through the roofing material, decking, and often insulation. The roof has been leaking for longer than the stain suggests.
- Granules accumulating at downspout outlets. A cup of granules after a heavy rain is normal early in a roof’s life. A steady stream of granules every time it rains means the shingles are failing.
- Daylight visible through the attic ceiling boards. On a sunny afternoon, turn off the attic light and look for pinpoints of light through the roof. Each one is a potential water entry point.
- Sagging decking visible from the attic. If any section of the roof deck sags between rafters, the decking has absorbed enough moisture to lose structural integrity. This is not a “wait and see” situation.
- Shingles in the yard after a storm. Even one shingle in the yard means wind got underneath it. There are more that are lifted but not yet blown off.
If you notice any of these, document what you see, take photos, and call a licensed contractor. Birchbark Roofing Jacksonville, a local Roofing Company, offers free estimates, and a quick inspection now costs you nothing and can save thousands later.
Common Mistakes to Avoid
- Following a northern climate checklist. Advice about “winter ice damage” or “spring thaw inspection” means nothing in Jacksonville. Your maintenance triggers are storm wind, humidity, and dry spells, not freeze-thaw cycles. Using the wrong checklist wastes your attention on threats that don’t exist here.
- Clearing soffit vents with a pressure washer. That vent blockage you’re trying to remove will just get driven deeper into the attic if you blast it with water. Pressure washers also damage vent screens and force water into the eaves. This is a hands-off, contractor-appropriate task.
- Applying roof cement to a leak. Roof cement is a temporary patch, not a repair, and manufacturers may void your warranty if they see it during a claim inspection. It also hides the real problem from the roofer who eventually fixes it properly.
- Ignoring gutter granules. Many homeowners think granules in the gutter are just “normal wear.” A little is normal. A lot, year after year, is your shingles telling you they’re at the end of their life. Document the amount each time you clean so you can see the trend.
- Skipping the post-storm inspection because “it looks fine from the street.” Wind damage often starts at flashings and ridge caps, not on the broad slopes. What looks fine from the street can be lifting at the edges where you can’t see without closer inspection.
- Not documenting anything. The single biggest mistake we see in insurance claim disputes is the homeowner who says “it was fine before the storm” but has no photos to prove it. Documentation costs you nothing and takes ten minutes per month.
- Waiting for “annual inspection season.” Jacksonville doesn’t have one. Damage happens on the storm’s schedule, not yours. The homeowners who catch problems early check after the triggers, not after the calendar flips.
See the difference
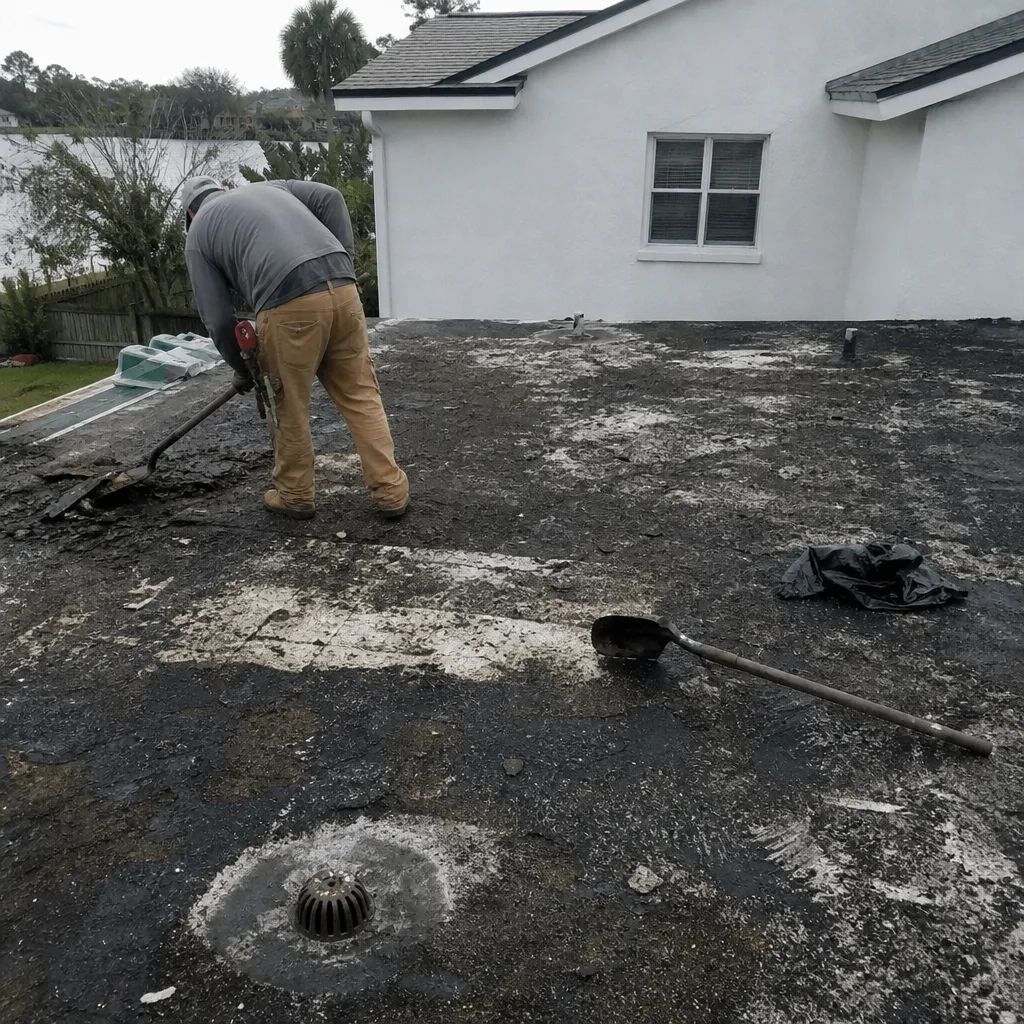 Before
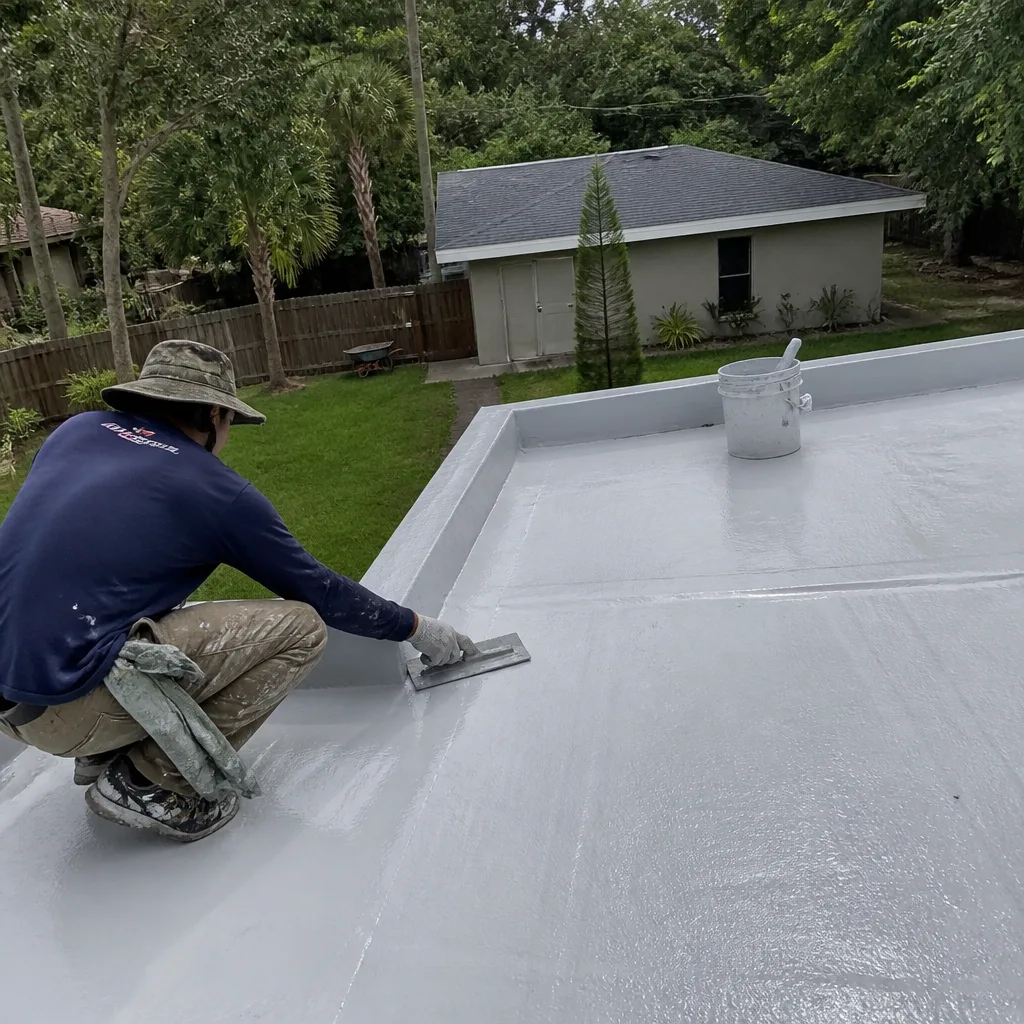 After
After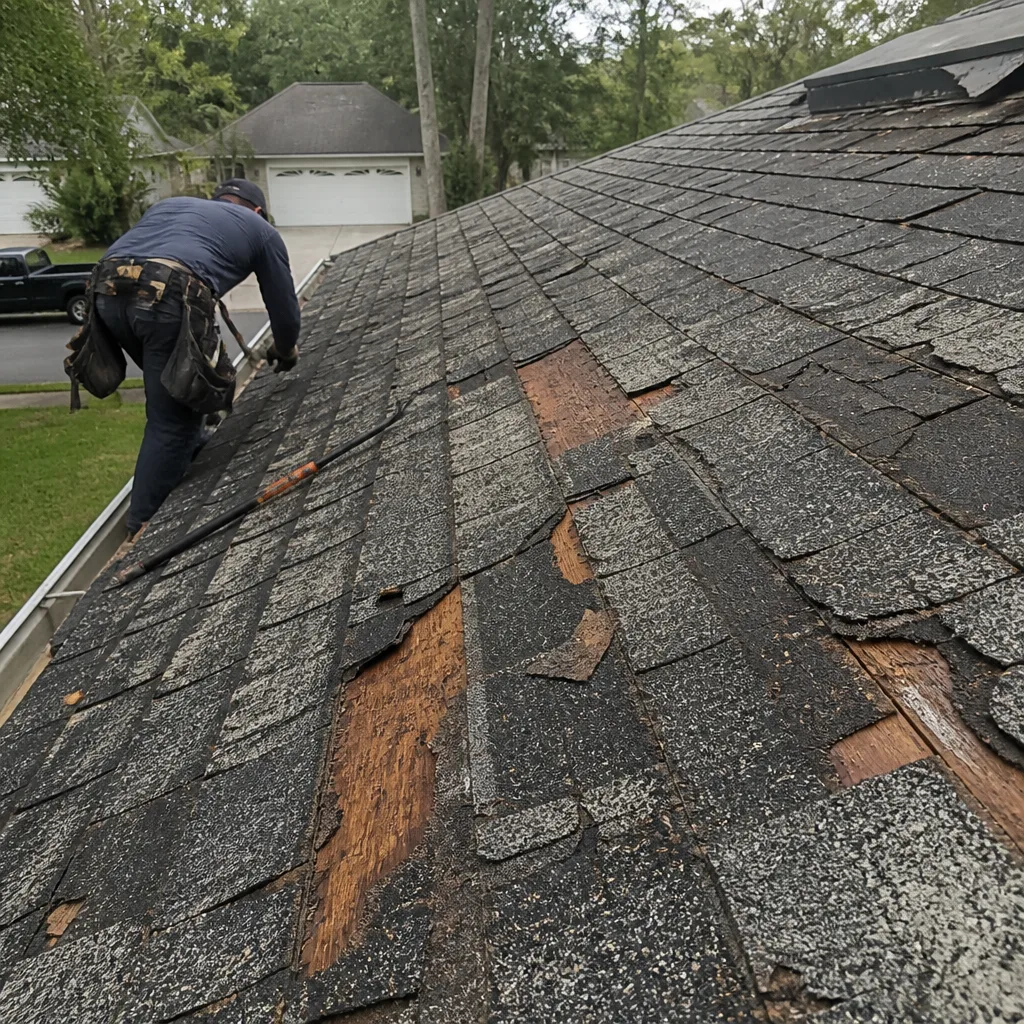 Before
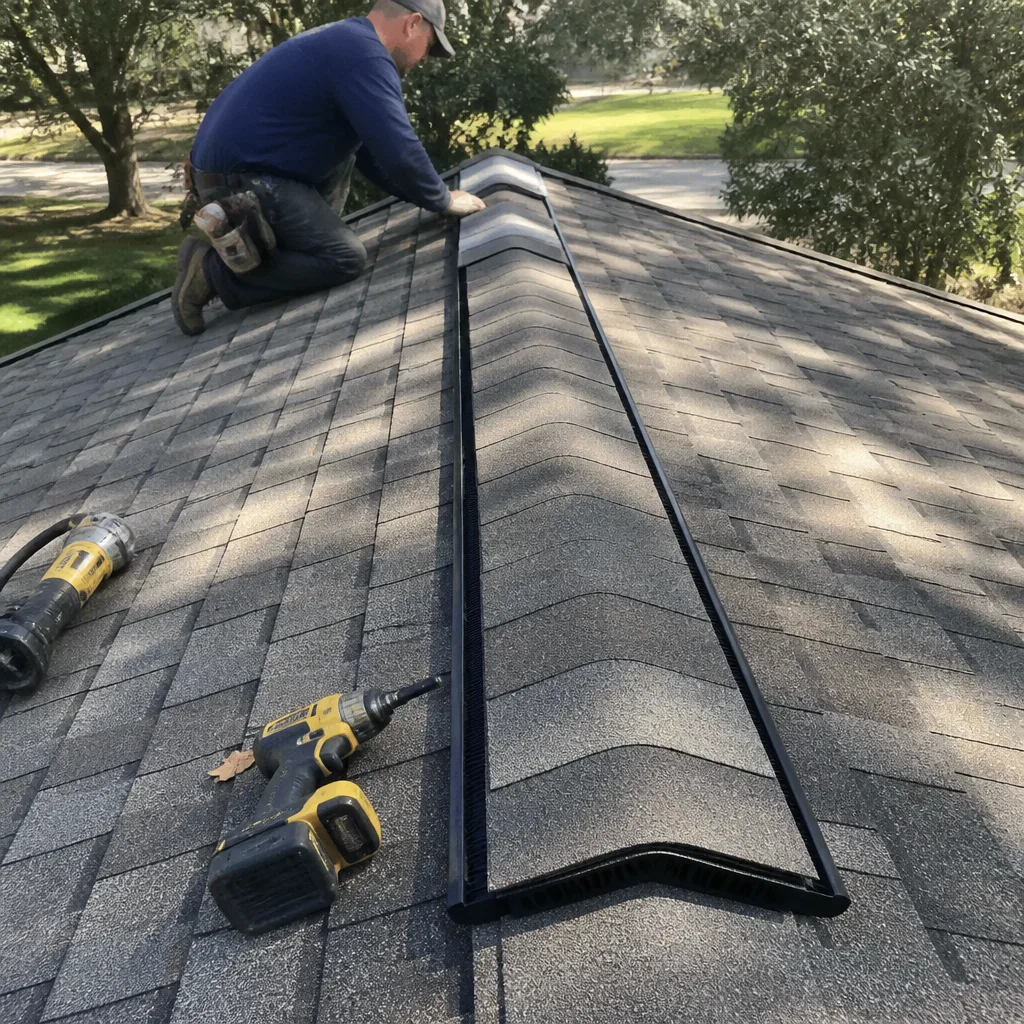 After
After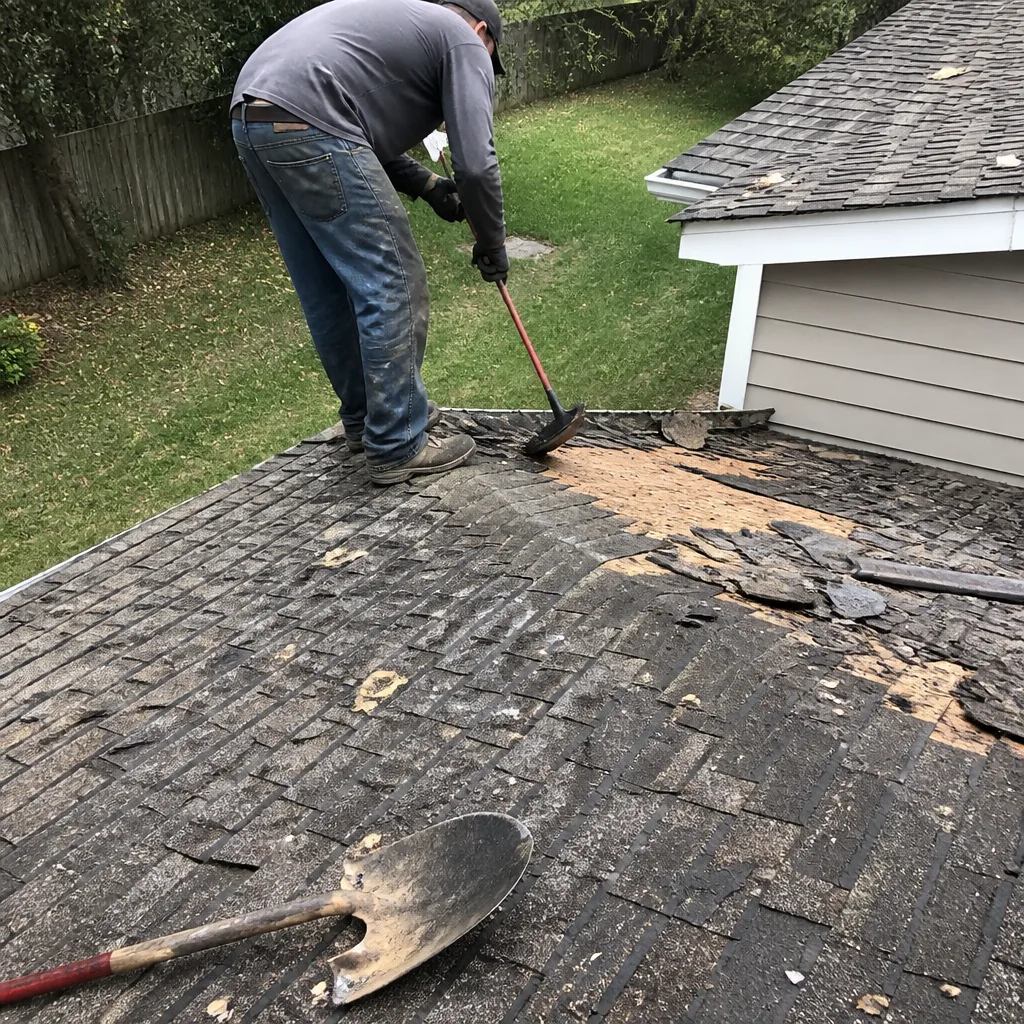 Before
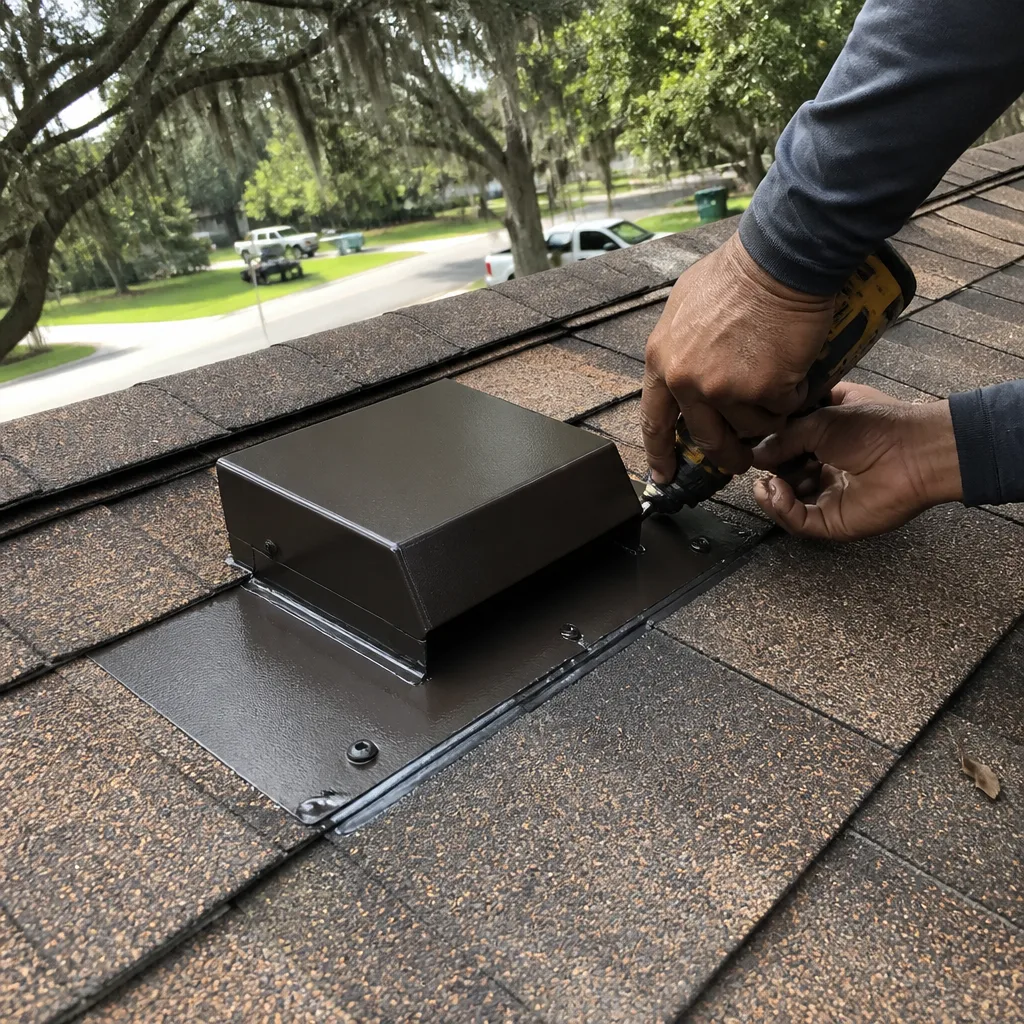 After
AfterWhen to Call a Professional
You don’t need a roofer for gutter clearing or ground-level photos. You do need one when anything requires walking on the roof, when flashing is involved, when you see signs of active leaking, or when your warranty requires professional maintenance. We’ve also seen homeowners in Jacksonville successfully manage their own maintenance for years by handling the DIY-safe tasks and calling us only for the rest. The right time to call is the first time you’re unsure; a quick inspection answers the question and either finds nothing or finds something small before it becomes something expensive. The Birchbark Roofing Jacksonville home team offers free estimates with a written price before any work starts, so you’ll know exactly what a repair costs before you commit. Call (904) 604-7914 to schedule.
Frequently Asked Questions
A Jacksonville roof should be inspected at least twice per year: once before hurricane season in May and once after it ends in November, plus after any storm with winds above 50 mph. Given Jacksonville’s humidity and storm exposure, many homeowners add a third inspection in March to check for winter wind and animal damage. The key is timing inspections to the city’s weather triggers, not to an arbitrary calendar schedule.
A Jacksonville roof maintenance checklist includes gutter clearing, downspout flushing, soffit vent inspection for insect and animal blockage, flashing inspection at chimneys and pipe boots, attic ventilation check, granule-loss monitoring at gutter outlets, and photo documentation of all roof surfaces from the ground. Tasks requiring roof access, like fastener tightening or shingle replacement, should be left to a licensed contractor.
A professional roof inspection in Jacksonville typically costs between $150 and $400 when billed as a standalone service, though many contractors, including Birchbark Roofing Jacksonville, offer free estimate inspections for homeowners who suspect a problem. For a full breakdown of pricing factors, see our Roofing Cost Breakdown: The Jacksonville Homeowner’s Reference for 2026. Maintenance tasks like gutter clearing run $80 to $250 depending on house size. For an exact number, call (904) 604-7914 for a free written estimate, which we always provide before any work starts.
Yes, most of a meaningful inspection can be done from the ground using binoculars or a smartphone zoom lens, focusing on the four roof slopes, all penetrations, ridge cap, valleys, soffits, and gutter outlets. What you can’t do from the ground is assess decking condition from inside the attic, test flashing adhesion, or spot subtle shingle lifting, which is why a professional inspection at least annually is the standard recommendation.
After a Florida storm, look for shingles in the yard, new missing shingles, lifted shingle edges visible from the ground, granule build-up at downspout outlets, water stains on ceilings, and debris wedged under flashing. Wind damage often appears first at ridge caps, chimney flashings, and roof valleys, so check those areas specifically. Document everything with photos immediately for your records.
Homeowner’s insurance does not cover routine roof maintenance in Jacksonville or anywhere else in Florida; it covers sudden damage from covered events like storms, fires, or falling trees. However, documented maintenance can strengthen an insurance claim by proving the damage was not caused by neglect. Keep a written log and dated photos, as adjusters give documented homes faster, fairer claim outcomes.
The Bottom Line
A Jacksonville roof maintenance checklist should be built around the city’s weather, not a generic seasonal calendar. Check after storms above 50 mph, after dry stretches that follow wet season, and after cold snaps that drive animals into your soffits. Keep gutters clear in March before spring rains, photograph everything in June before hurricane season starts, and document every repair and maintenance task in a permanent written log. Most of this is safe to do yourself from the ground. The rest, anything requiring roof access or touching flashings and fasteners, belongs with a licensed contractor who can protect your warranty and do the work safely. For more details, see our Roofing Permits, Codes & Inspections in FL: What You Need to Know. A maintained Jacksonville roof lasts longer, claims insurance faster, and costs less over its lifetime.
Written by Erik Lindgren, Owner at Birchbark Roofing Jacksonville, serving Jacksonville since 2000.